You ask a lot of your bike, and it’s natural for parts to get old and wear out. But a little home maintenance can go a long way and save you trips to the mechanic. Keep your trusty steed running longer and better with these tips on how to do a quick bike tune-up right at home.
Clean Your Chain
Complicated methods abound for cleaning a bike chain: Remove the chain and soak it overnight; disassemble and clean each roller with a cotton swab; and something else involving pipe cleaners and a toxic solvent.
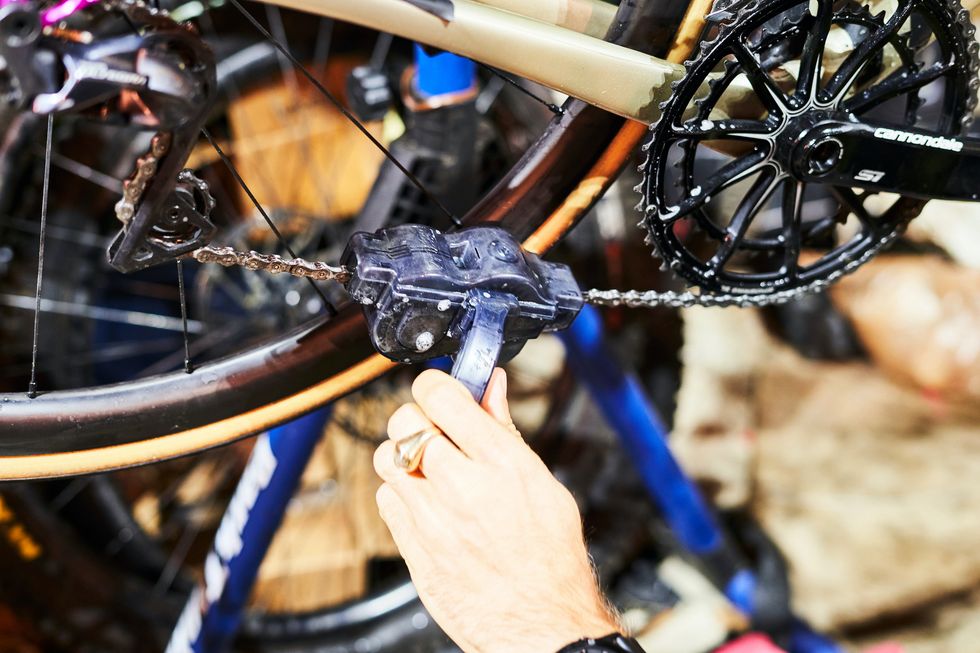
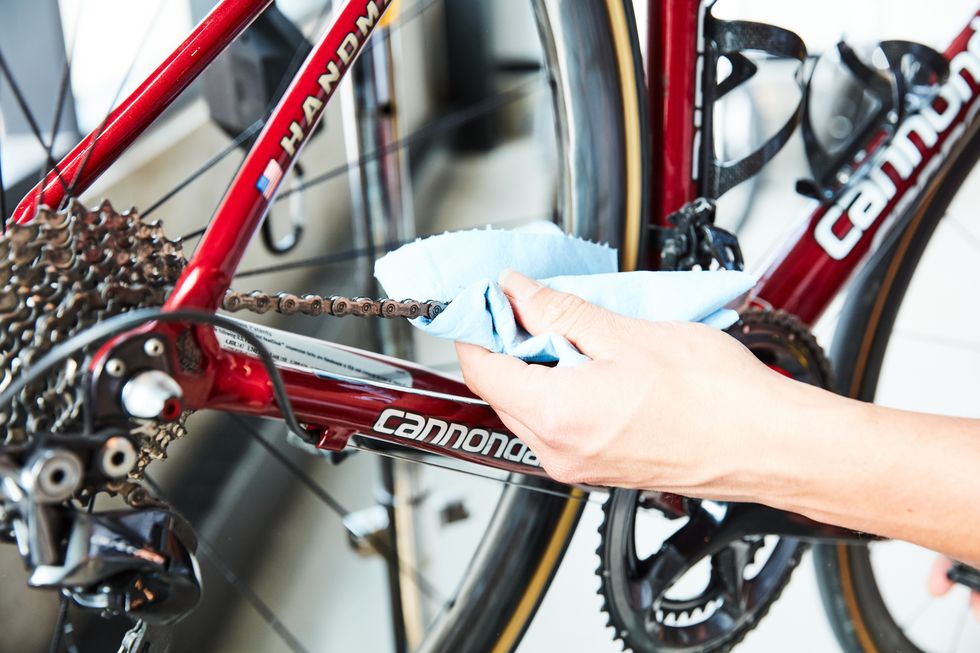
But this lazy chain-cleaner’s process removes gunk quickly and rather effectively—and you won’t need safety goggles: Buy a chain cleaner, such as Park Tool’s Cyclone Chain Scrubber, and fill it with pourable bike degreaser, like Pedro’s Oranj Peelz Citrus Degreaser. Attach the device to your chain, turn the crank 15 revolutions, and let the brushes scrub away the grime. Remove the chain cleaner and wipe the chain dry with a clean rag.
No chain cleaner tool? Spray degreaser, like Finish Line Speed Degreaser, onto the chain. Focus on small sections at a time, since it tends to evaporate quickly. Wipe clean with a dry rag. (If you don’t have any degreaser on hand, here’s how Bicycling’s mechanic Joel Nankman cleans his chain with Dawn liquid dish soap.)
Apply chain lube when you’re done, spinning the crank to work it into the rollers, and wipe off any excess with a clean rag.
Smooth Out Shifting
What good is a clean chain if it jumps around and skips gears? Loose cable tension is the likely culprit.
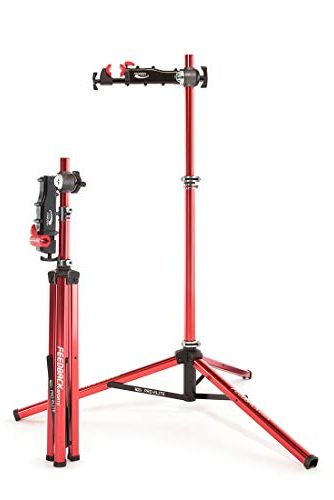
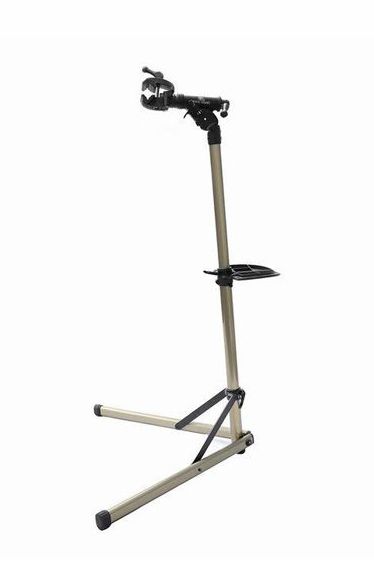
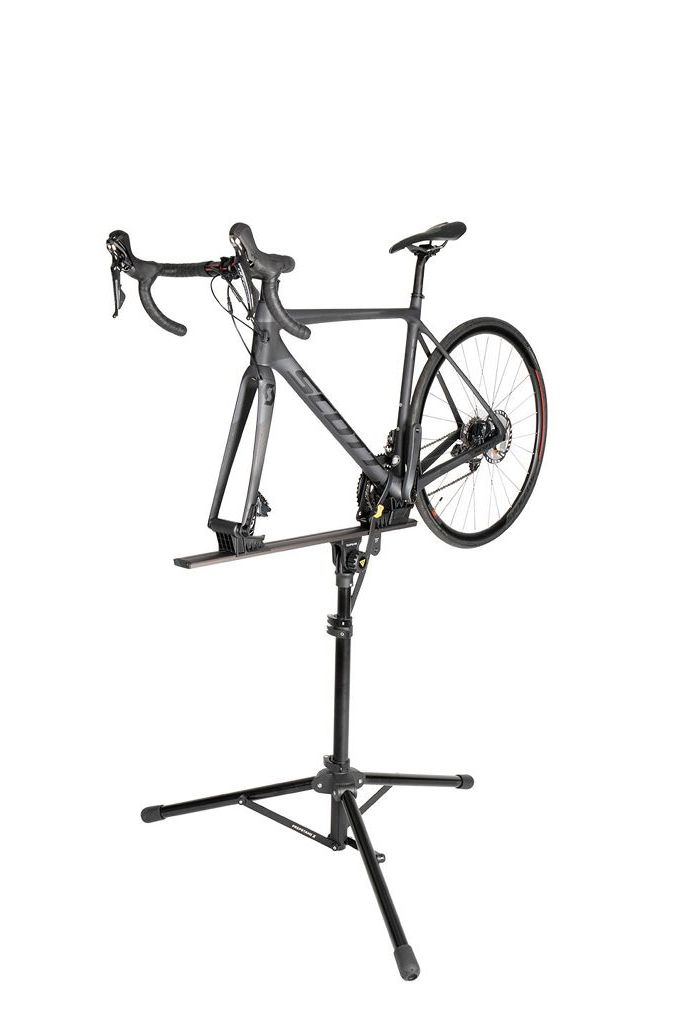
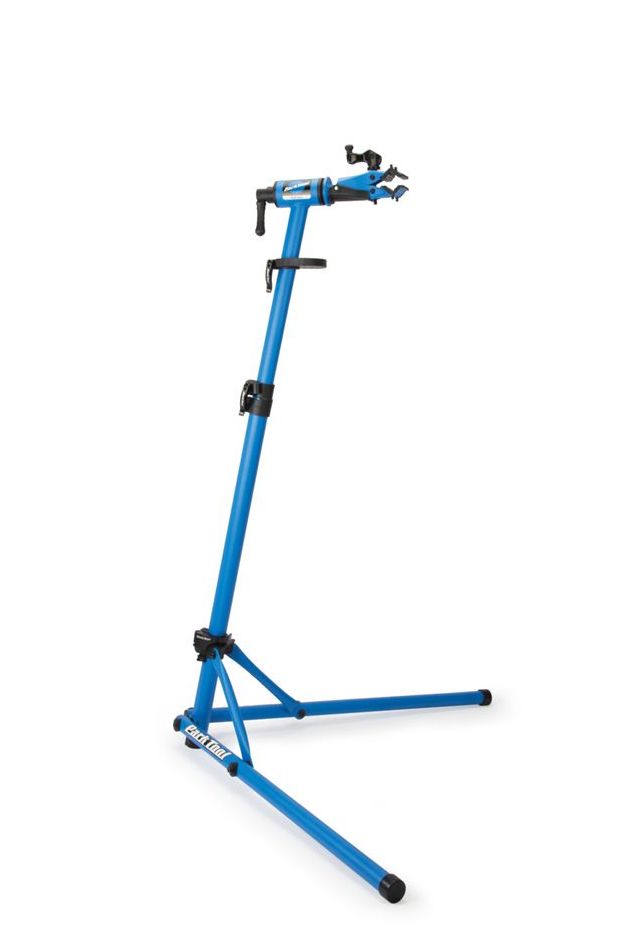
With your bike in a repair stand, shift to the smallest cog. As you rotate your pedals, shift once. If the chain doesn’t jump to the next cog, turn the barrel adjuster on the rear derailleur one half turn counterclockwise. If the chain starts to jump two cogs for every one shift, you went too far. Back it down a half turn. Don’t turn the barrel adjuster more than halfway at a time; you may end up with too much tension, which will make your shifting just as bad or worse than when you started.
If the chain skips while shifting up into a harder gear, repeat the above steps by turning the barrel adjuster clockwise.
If that doesn’t fix your shifting issues, your rear derailleur may need a bit more work, like adjusting the limit screws—read up on how to do that here, and check out the video below. When in doubt, take your bike to your local bike shop.
Adjust Your Brakes
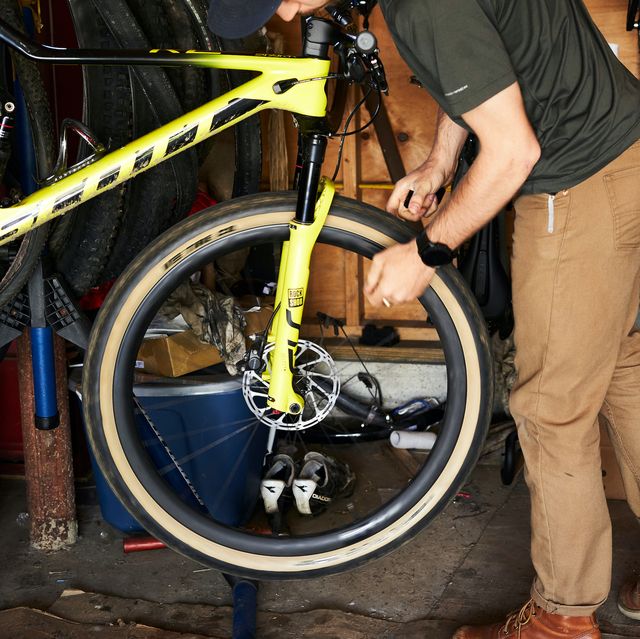
If your brake lever reaches the handlebar before it stops your bike, either your brake pads are too worn, your cables are stretched, or you need a brake bleed (for hydraulic systems). Really worn pads should be replaced (but that’s another story). If that isn’t the issue, and you want to ride now, try this to get by.
Rim Brakes
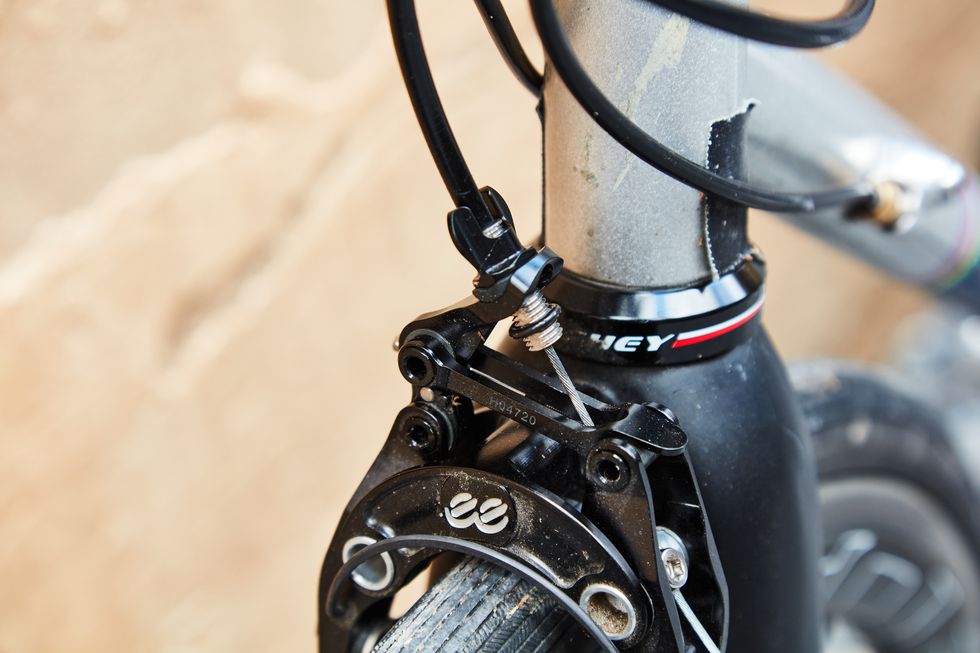
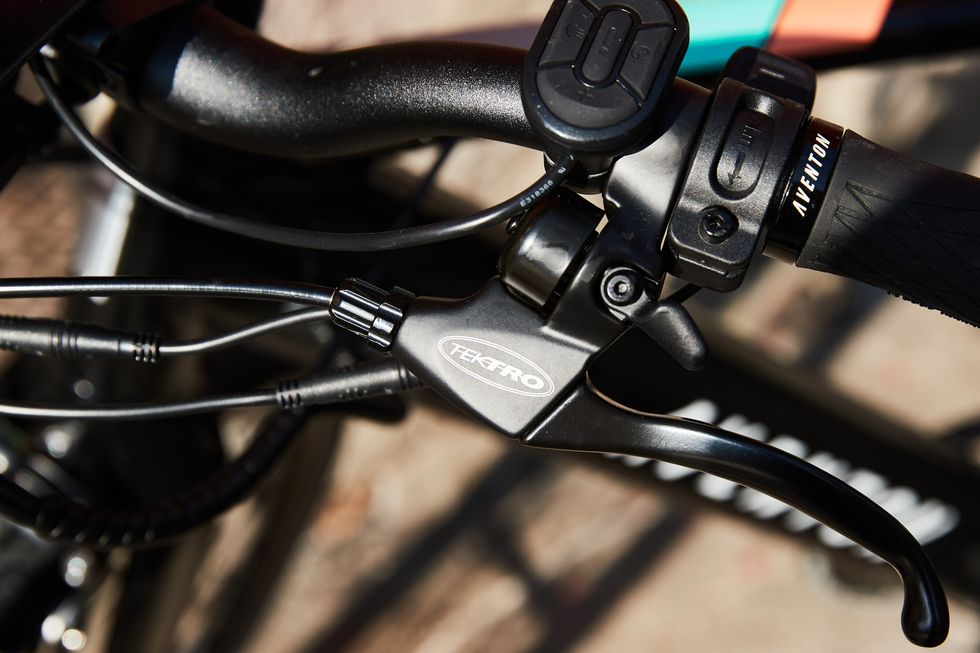
Turn the barrel adjuster—located on the brake caliper where the cable enters the brake or next to the brake lever—counterclockwise one turn at a time, testing your brakes after each adjustment, until the brake feels responsive. Then, screw the lock ring back into place to secure the barrel adjuster.
If you reach the end and it still hasn’t solved the problem, turn the barrel adjuster clockwise until it stops, loosen the pinch bolt (where the cable goes into the caliper) and pull a small amount of cable through. Tighten the pinch bolt, and repeat the process until you get the right amount of tension.
Disc Brakes
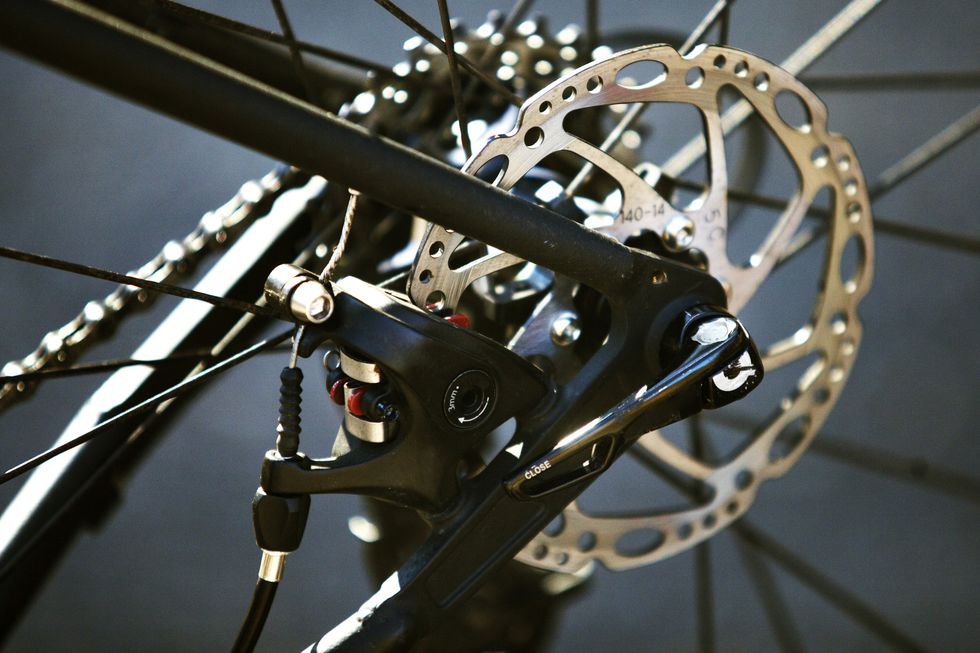
For mechanical disc brakes, check your brake pads. As the brake pads wear down over time, you’ll need to periodically use the brake pad adjuster(s)—there’s either one or two—to bring the pads closer to the rotor. The pad adjusters will either be knobs that you can turn by hand, or they will require a 3mm Allen key.
If you have hydraulic disc brakes and the levers are going soft, you likely need a brake bleed to refresh it with new fluid and remove any air from the system. And this isn’t an issue you should put off fixing and continue riding with. “The brake needs to be bled,” says Bicycling’s resident mechanic Joel Nankman. “Last thing you want to happen is the air migrating to the caliper on a steep downhill, grabbing the brake, and getting a whole lot of nothing.”
You can get this done at your local bike shop, or you could give it a go yourself. You’ll need the right tools and brake fluid for your setup; both SRAM and Shimano offer brake bleed kits. “Bleeding brakes—contrary to popular belief—is easy,” Nankman says, but it’s “time consuming to get right.”
When she’s not out riding her mountain bike, Jessica is an editor for Popular Mechanics. She was previously an editor for Bicycling magazine.
